 Is there anything as satisfying as the crispy crunch of a nice, thick potato chip? Well, yes: the crispy crunch of a dehydrated apple!
If you love a crunchy finger-food snack but would rather skip the calories and saturated fat, this is the way to go. Of course apples are not calorie-free: a medium-to-large apple has about 80-110 calories depending on a few factors. But apples have zero fat and lots of nutrients that your body needs, although I have no clue what the dehydrating process does in that department.
I started playing with dehydrating apples at the end of 2019 and have gotten it down to a science! Since I had to go through a lot experimenting to get it right, I thought I’d write this post to help others with the details. [Here’s my post about dehydrating red bell peppers.]
And this was an excuse to take lots of photos.
Get a dehydrator.
I’ll write up some details on the two dehydrators I’m using later. For now, let it suffice to say that I’m using both a Nesco (which I borrowed from a friend) and a Cosori food dehydrator. Each costs under $60 on Amazon.
Get the apples and wash them.
Get some apples from your orchard, farmer’s market, or grocery store. How many you should get depends on your dehydrator and how thick you slice your apples. With the equipment we are using and following the instructions on this page, it comes out to one apple per dehydrator tray.
We have tried Ambrosia, Gala, Fuji, and Honeycrisp apples, buying whichever type is cheapest that day. That list is in the order in which I liked the results, with Ambrosia giving the nicest flavor. That said, there are far too many factors involved and I’ll wager that whatever apple variety you try out, as long as it is not tart, you’ll get good results.
[Edit: I take that back: you want apples that are as firm as possible. The less firm the apples, the more porous it is and the more liquid it will absorb. I tried some Jongold apples, and not only were they tart, they took nearly 35 hours to dehydrate because they absorbed too much liquid in my soaking step!]
Prep the apples by removing the stickers and washing: you don’t want to include pesticides and random other stuff in your dehydrated goodies.
Core and slice the apples.
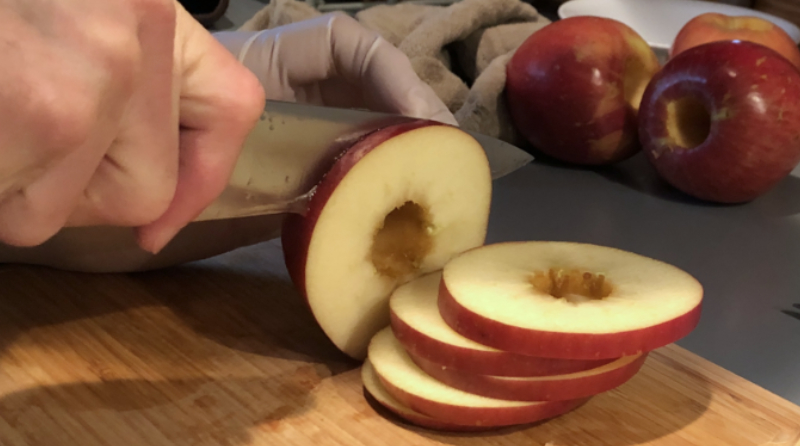
The apple corer I use is the kind that you center over the stem and push down through the apple to encase the core and pull it out. The trick I learned after about a dozen tries was to generally always go straight down, even if the apple itself seems to be a bit off centered. This doesn’t work 100% of the time, but I think it’s the right approach most of the time.

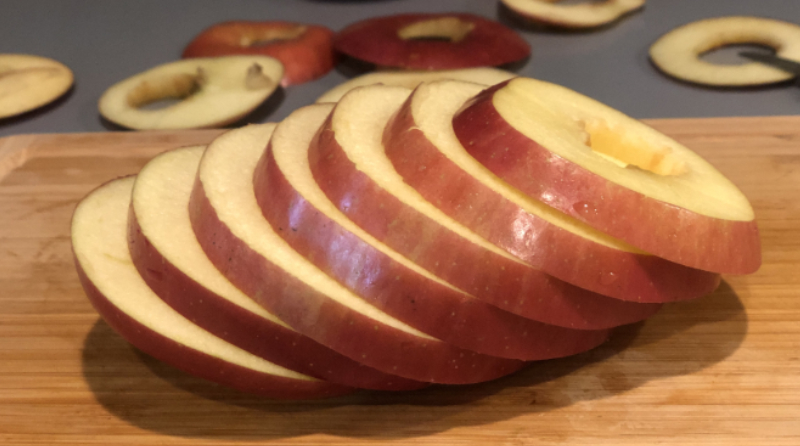
Your washed and cored apples are ready to be sliced. I was going to buy a mandolin, but the cost to get a really good one was shocking, so we just do it the old fashioned way with a knife. After a lot of trial and error, we’ve found that slicing the apple to aim for about 7 or at most 8 slices per apple (about 1/4-inch per slice) is ideal. Not only does this allow us to get one apple per dehydrator tray, the approximately quarter-inch thick slices dry to just the right thickness to give a satisfying crunch.
Naturally, your mileage may vary. Experiment to find what you like best.
Soak or coat the apples.
Here’s where you can get creative.
When I got started, the instructions I found online said that I should coat the apples in a mixture of water and lemon juice, and alternately add sugar. The reason stated for the lemon juice is that it is an antioxidant that will prevent the apples from turning brown. To reduce the tartness added by the lemon, many web pages suggest adding sugar, but I am loathe to add sugar to anything. While I used the lemon juice at first (starting with about a tablespoon), I eventually stopped using it altogether.
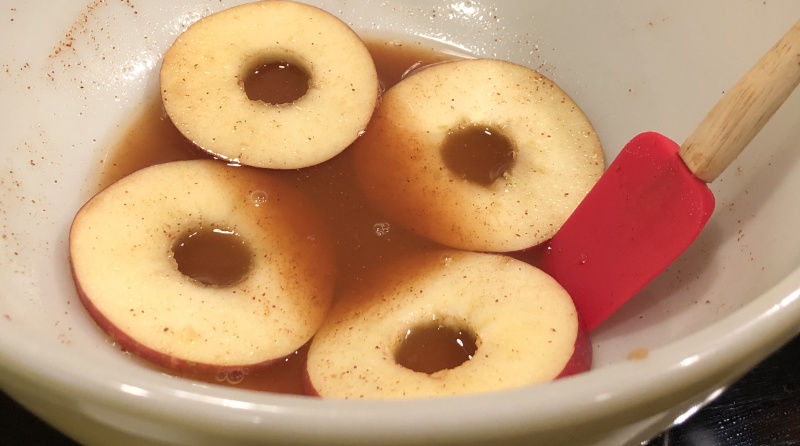
After my first half dozen batches I came up with a good mixture. I use about a cup of filtered water, 3 tablespoons of powdered stevia, and a teaspoon (or two) of cinnamon.
I find that the ideal way to do this is in a very large bowl. I add the stevia and cinnamon first, combining it into a uniform powder. Then I add the water and stir to make my mixture. Add the apples, stir them about using a small rubber spatula to make sure they are coated, then they are ready for the dehydrator.
When I had the spare ingredients and found the time, I tried other coatings:
- Diet root beer (soaked overnight!)
- Jellied cranberry sauce
- Crushed pineapple
Of those three, the cranberry was by far my favorite, with the pineapple coming in second — although both of these were messy enough for me to reserve batches like this for special occasions.
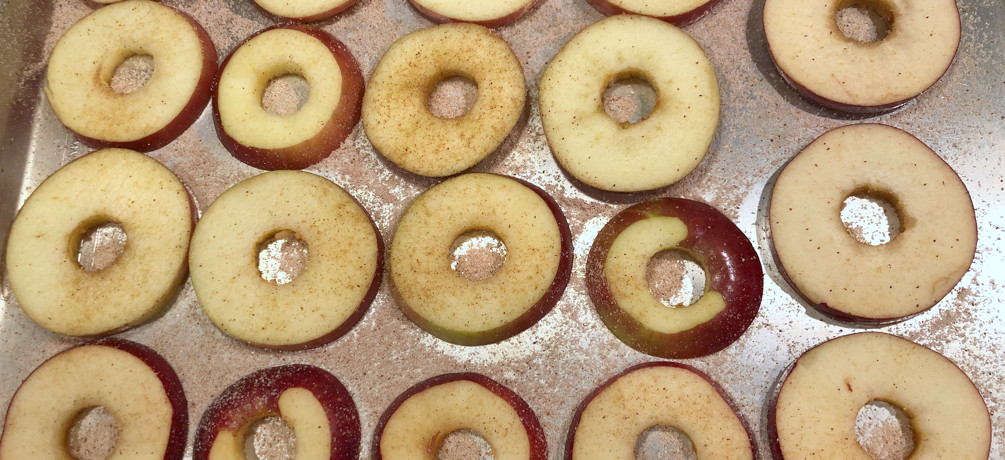
Later, in an effort to reduce the liquid so as to hopefully reduce the drying time, I sprinkling a cinnamon-and-stevia mixture on a baking tray, arranging the apple slices on it, then sprinkling the mixture on the apples (I use a small sifter). I don’t think this speeds up my drying time, but it certainly is easier and less messy.
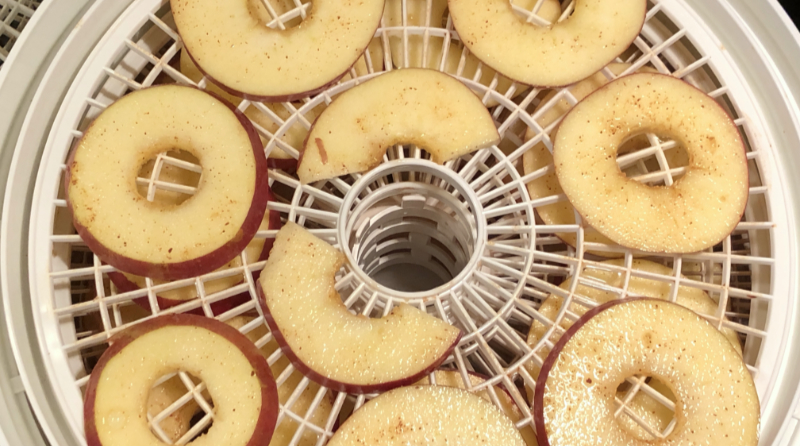
Arrange the slices in the dehydrator.
When you arrange any food on a dehydrator, it’s best to spread them out so that they are not touching. As I said above, we have found that we can get 7-8 slices per tray. In one of our dehydrators, 7 slices is the perfect fit, so for the 8th slice I break it in half and slip them in where I can.
Apply electricity and time.
One of our dehydrators (the Cosori) generates heat in the base and pushes it up through the trays, and the other (the Nesco) has the heater and fan in the lid and pushes it down. The Nesco seems to dry things a good deal faster than the Cosori, but this could also be because it has only four trays while the Cosori has five. Yet other dehydrators have side-mounted systems that push the hot air across the trays. Other factors that may impact drying time include how wet the food is that you are drying, the amount of humidity in the air, and who knows what the heck else.
The point here is that different dehydrators do their job differently, so you’ll need to experiment with different heat levels and amounts of time. There is no one answer, but plan for your apples to heat at between 145 and 165 degrees (F) for anywhere from 18 to 36 hours, depending on how crispy you want them.
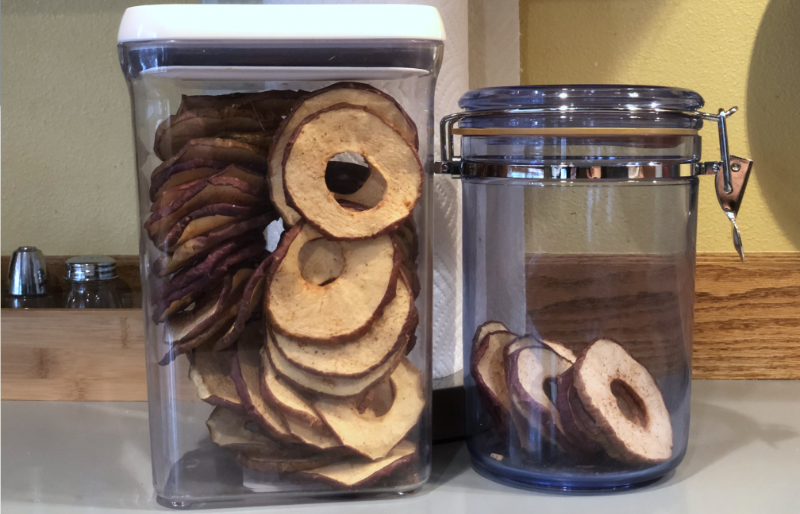
Test for doneness by stealing a slice from a tray, waiting for it to completely cool, then breaking it. When they’re done they should be crisp and snap, not bend (at least that’s how I like them!).
(P.S.: When I link to stuff on Amazon I use a referral link. Because, why not?)